Quite a few of my friends have been pregnant this year. And it seems to be the year of the boy! 3 of 4 of my pregnant friends from church had boys within the last 2 months. I originally picked up some cute (and beginner orientated) baby quilts to make for them, but since I didn't unbox my sewing machine until a month ago and have only used it one time since then I had to think of something else for a gift.
I'm not really sure that I even was thinking new baby gift when I started this project. I had picked up some square frames from Michael's on sale for $1 (or maybe they were even 3 for $2) on one of my (many) trips.
(Please try not to mind my not so great pics... when crafting after 9pm lighting is not the best around here! My dream is an Ottlite of some shape and size... someday....)
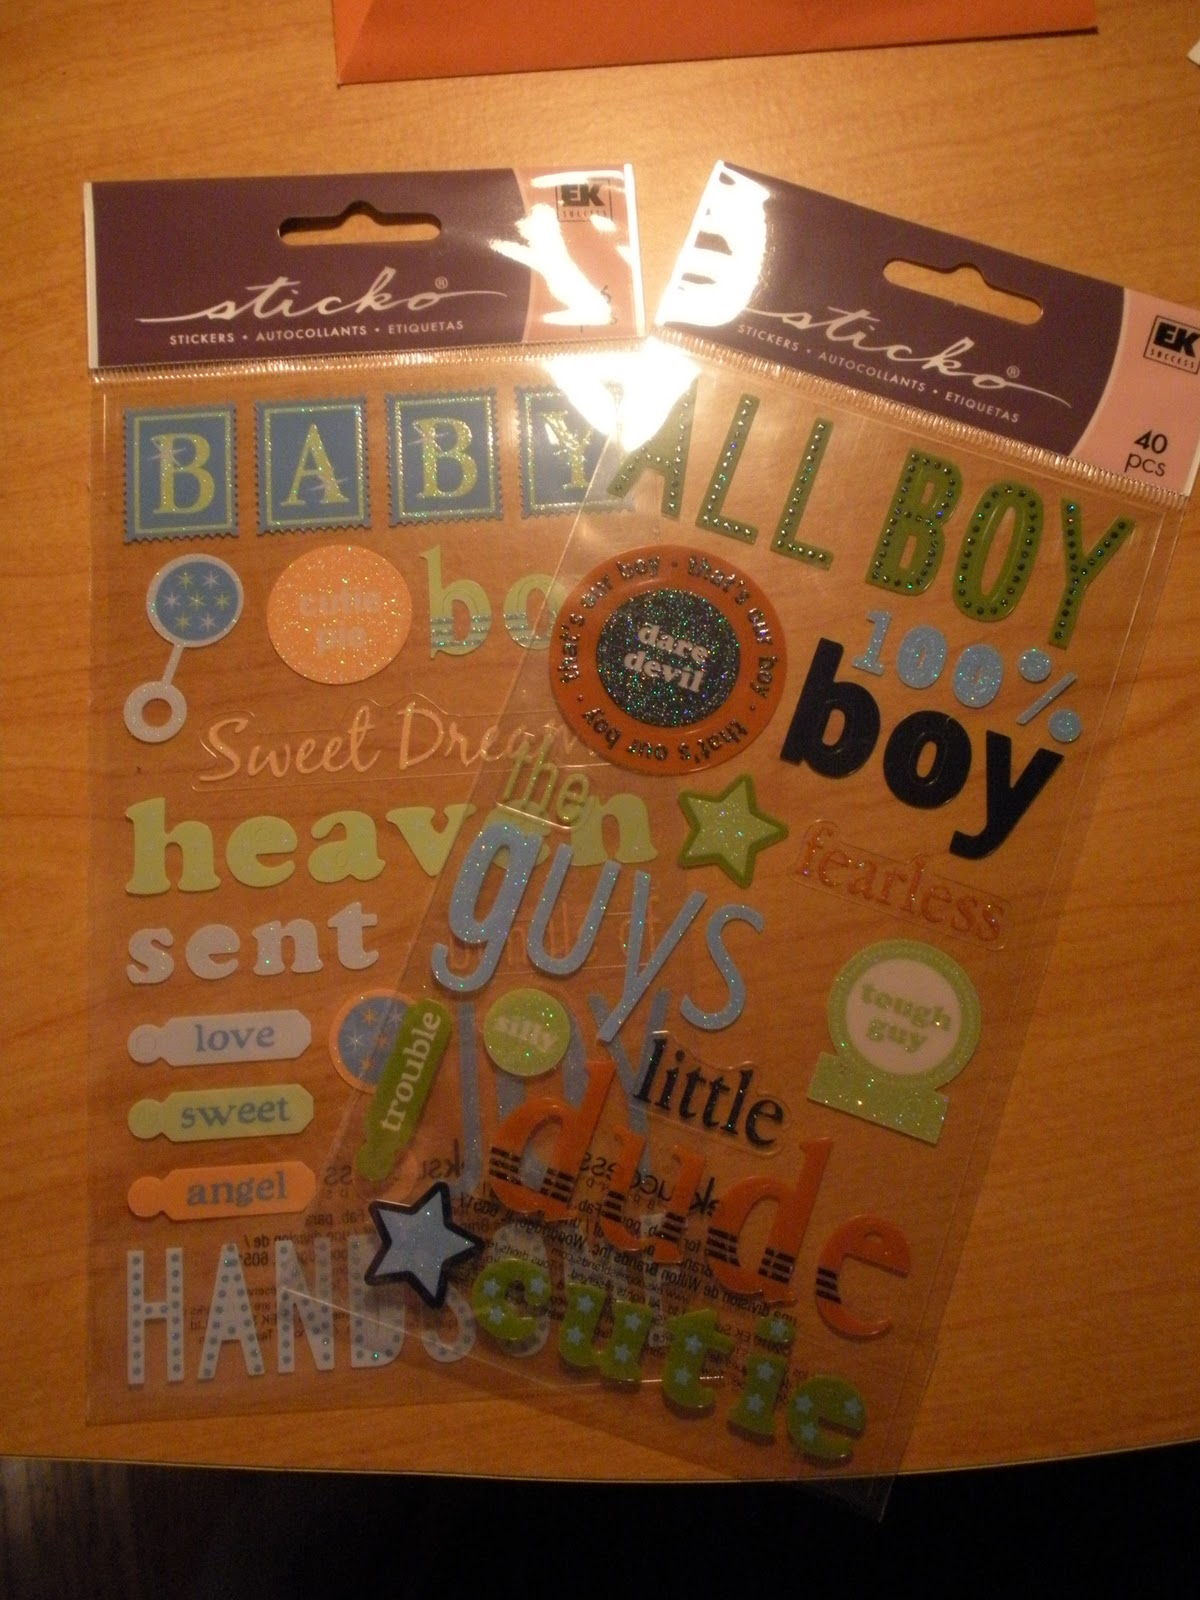
One day I decided to start painting the frame blue. Nothing special about painting a ready to paint frame. Then I started thinking about what I had/what I could do that would make the frame special. While surveying my supplies I came across some baby boy stickers that I had and between the stickers and some buttons I layed out what I thought was a cute frame.
But still to me it was just a frame. I was inspired to add a clothespin to hold the picture, it was one of those odd/small openings so the clothespin allows a normal size print to be used. And for something extra special using a white gel pen I wrote 1 Samuel 1:27 on the clothespin (
"I prayed for this child, and the LORD has granted me what I asked of him." NIV version). I still have these first two creations (even though the babies are like 6 & 8 weeks!) as I have not seen the babies/parents to hand the gifts off, but it turned out I added a little something. I wrote the baby's full names/dates of births/birth stats on some green cardstock and inserted it in the "real" photo holder. So it doesn't look quite so weird. But as I didn't want to post those names all over the internet I didn't take a picture of that element.
Oh and I used thumbtacks to attach the ribbon to the back of the frames.
So here I was this week, with only two frames and now baby #3 was born (and not too much earlier than anticipated). So I went to work on frame number three... BUT as I was getting out the paint and thinking how I should've painted it way earlier and noticing the frame had a few chips out of it (see first picture) I had a though to basically wrap the frame in some nice pretty but boyish scrapbooking paper.
 |
| I found a bunch of this paper adhesive in matte and some in gloss for a REALLY good deal at Michaels... less than $1 for the matte and then 49 cents for the smaller bottles of the gloss. This is my first project using it, but it worked pretty well! |
Then I used the same scheme of stickers, buttons, clothespin, ribbon and thumbtacks to finish it off. I also adhered a green square of cardstock (under where the picture will be) that has his name and stats on it.
Overall, I like the last one the best!
PS... yes that is my Monkey in the pictures from nearly 2 years ago! Man how time flies!
This post linked up at
 and
and
I Heart Naptime's Sundae Link Party