
We are pairing them with other things, and I'll share some of the "whole gift" photos and details later, but what I really wanted to share today is the super cute labels I made for the bottles.
I found this fabulous pin last week just before I was going to buy printable stick on labels.
It was my first time printing on fabric and let me tell you I was NERVOUS. I attempted to print directly on wax paper one time after seeing a tutorial about how you could easily transfer words to canvas or wood or something and it was a huge fail for me. Maybe my printer wasn't the same as in the tutorial but regardless, I was sort of envisioning having to buy a new printer after spray adhesive and fabric going through it....
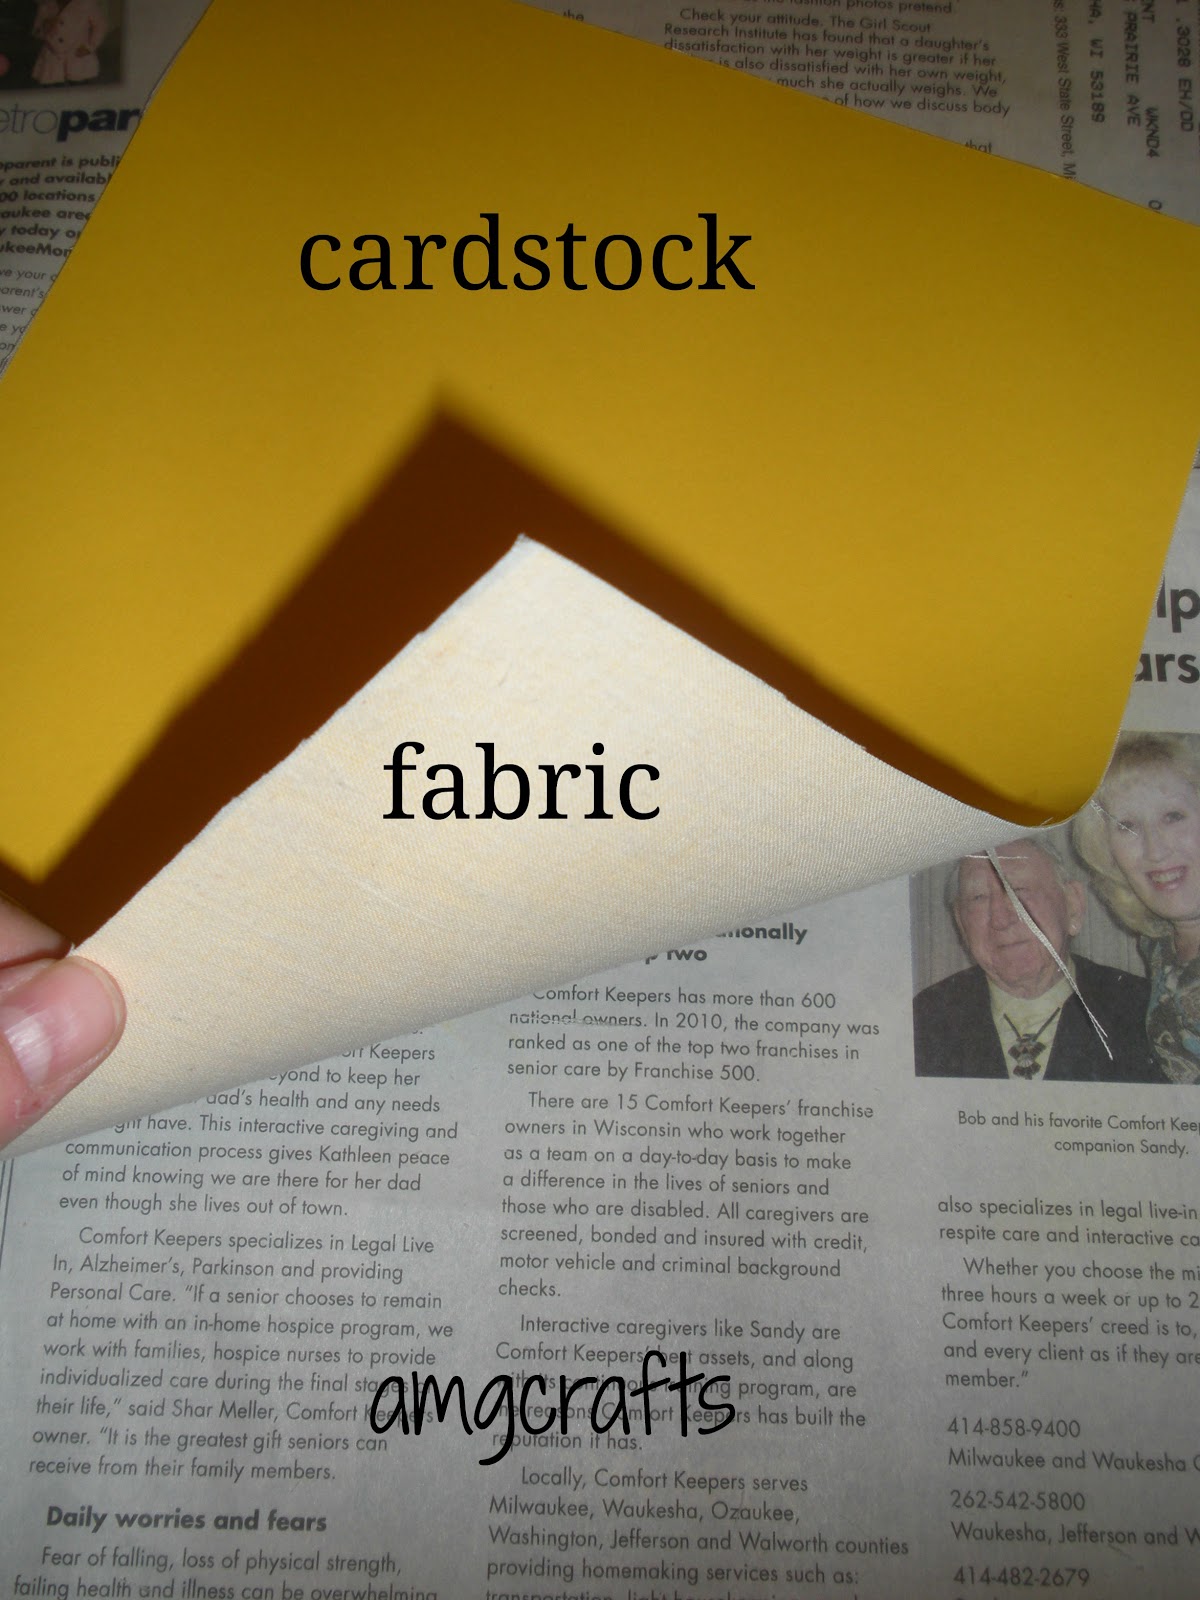
The fabric I used was a simple muslin, leftover from my DIY toddler dress forms.
I cut a piece of muslin bigger than my cardstock and ironed it.

Then I sprayed my cardstock with Elmers Craft Bond. I left the cardstock sit for about 5 or so minutes so the craft bond would have a "temporary bond." Then I spread my muslin over it, smoothing it out with my hands. I left it to dry for a minute and then trimmed the muslin right up to the edges of the cardstock.

I created my labels in Microsoft Word, using the Labels template and making my own custom size label. This made it really easy to "fill my page." In case you've never used this method here it is step by step (Using Microsoft Word 2007).
1. Go to the Mailings tab in your blank document.
2. Go to Labels, a pop up will appear.
3. To make a custom size, go to Options.
4. Select the New Label button
5. Enter your dimensions/number of labels per page. You might need to do a little math, but it will tell you if your chosen setting won't fit on a page. For my vanilla I used Height 1.8 and with 1.9 with 3 across and 5 down. I had some leftover room on my page but I was okay with that.
6. Select Okay when you have finished your settings and named your label.
7. Select Okay again.
8. Now in the "Address field" type your desired wording. To change your font type or size, highlight what you want to change and right click.
9. Select Font. Make your font changes (size, color, type, bold, italic, underline etc) then click okay. You will need to do this for each "seperate" change you would like. For my vanilla I wanted the title larger, so I only selected Homeade Vanilla, changed my font and size, then repeated for the other wording.
10. If you want to change the alignment of your labels (left, center, right) highlight all your wording, right click and select paragraph. Make your edits and then click okay.
11. When you have your fonts how you would like them you can do one of two things:
Go straight to print. This will print your label but you won't be able to save the file in case you want to print more later, you will have to do all the above steps again.
or
Select New Document. This will open another Word file where you labels are all filled in. Now you can save your file for future use. You can also make edits to each label one at a time if you want.
12. Print.
After I printed my labels on fabric, I did a little dance of joy that it worked and did not break my printer, yay!


I let them dry for a few minutes, then cut one out. It peeled right off the paper. The fabric wasn't too sticky, the cardstock was still tacky.
I "frayed" my edges a bit (love that look!) then laid my little label down and sprayed it with the craft bond again. I immediately smoothed it on to my 2 oz bottle (permanent bond). Then I grinned like crazy because it was SO cute (in my opinion at least) and called my husband to tell him how awesome I am and how Pinterest is the best. He is now walking around saying in a dramatic voice, "Pinterest is the 4th best thing that every happened to me.." LOL
Here's our first filled bottles with labels! Exciting!!!


No comments:
Post a Comment